
In this little guide I am going to teach you something basic to be able to debug your program with Serial.print and other commands.
If you are a programmer, you will know how important logs are to detect failures in your program, and since in Arduino we do not have a file system, you must use other methods to debug. One of these methods is adding traces in your program that show you the result of the execution in a console.
In Arduino, the Serial commands are usually used for this, among which are Serial.print and Serial.println. The only difference between the two is simply that Serial.println inserts a line break at the end, while Serial.print does not.
Serial.begin
To be able to use Serial communication we will have to initialize it, and this is the task of this function. For this we will simply have to execute it in the setup() function indicating the data rate. This speed is by standard 9600 baud on the Arduino IDE:
void setup() {
  Serial.begin(9600);
}
With this we can start debugging our program.
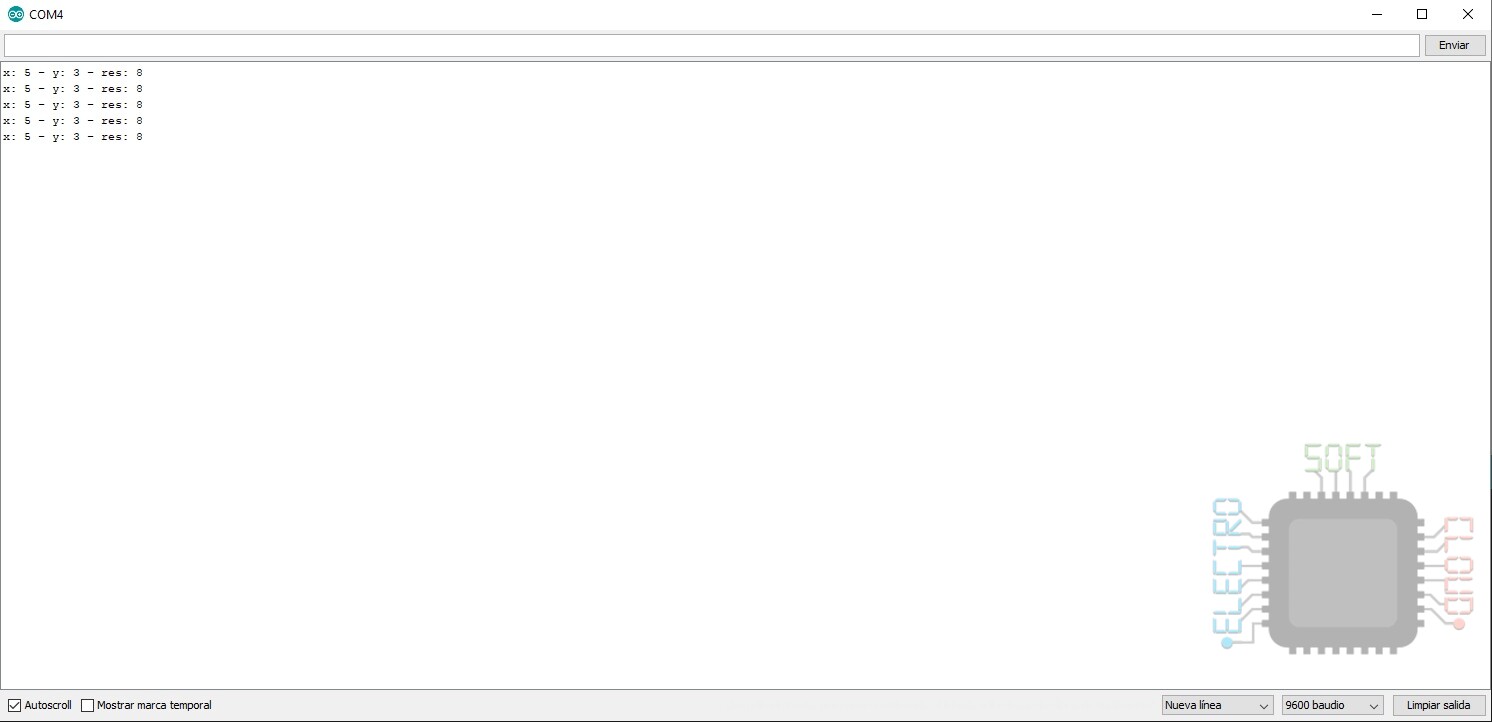
Serial.print
The first function we will see is Serial.print. This function will send the text that we write directly to the Arduino IDE for us to see.
void setup() {
  Serial.begin(9600);
}

void loop() {
  int x = 5;
  int y = 3;
  int res = x + y;

  // Printing data
  Serial.print("x: " + (String)x + " - y: " + (String)y + " - res: " + (String)res);
  delay(1000);
}
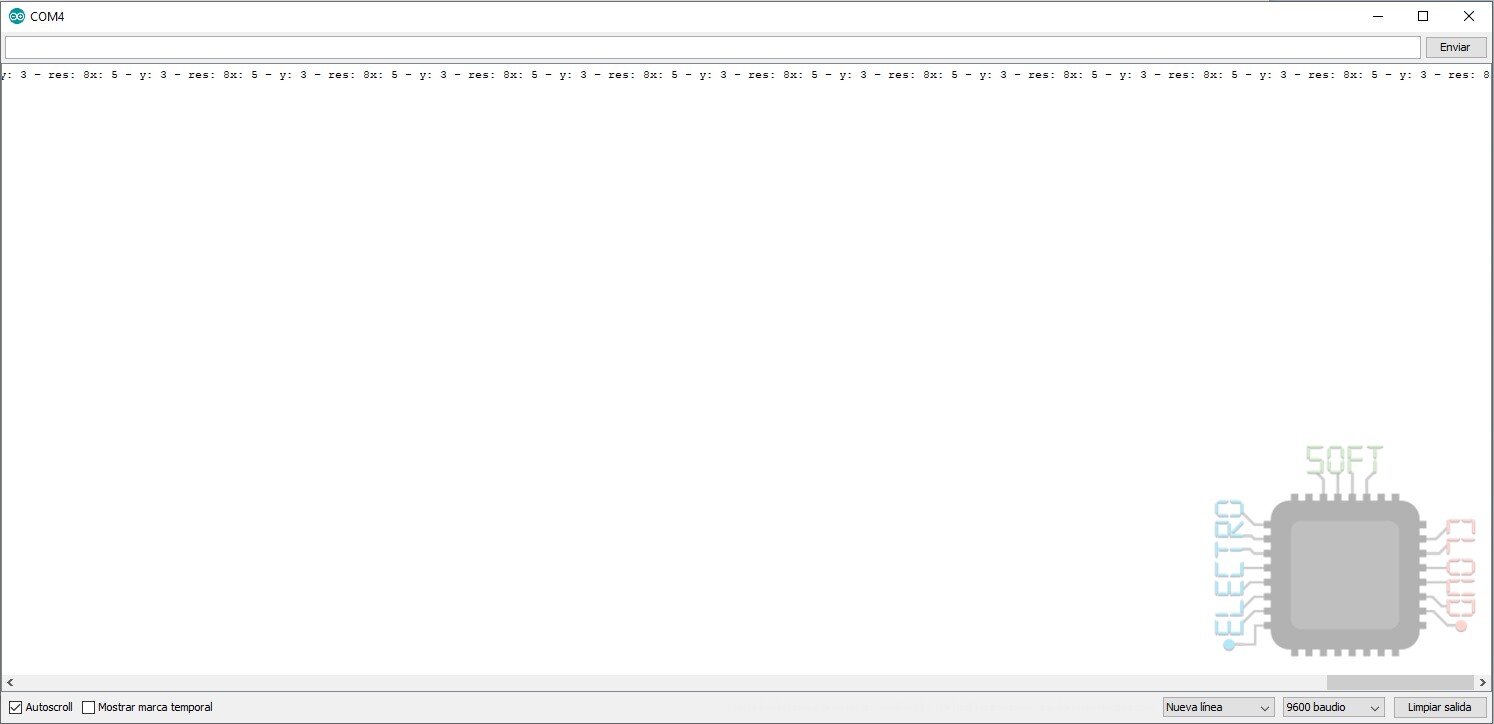
Serial.println
As I mentioned in the introduction, this function is exactly the same as Serial.print, with the only difference that it adds a line break. Its use is basically to avoid having to be adding the line break manually.
void setup() {
  Serial.begin(9600);
}

void loop() {
  int x = 5;
  int y = 3;
  int res = x + y;

  // Priting data
  Serial.println("x: " + (String)x + " - y: " + (String)y + " - res: " + (String)res);
  delay(1000);
}
As you can see, in each execution it adds a line break, so we save having to put it manually.
Disable debug
Surely you have asked yourself: and when I finish debugging, do I have to delete all the Serials? The answer is that it is not necessary, since Arduino allows us to activate or deactivate it with just two lines:
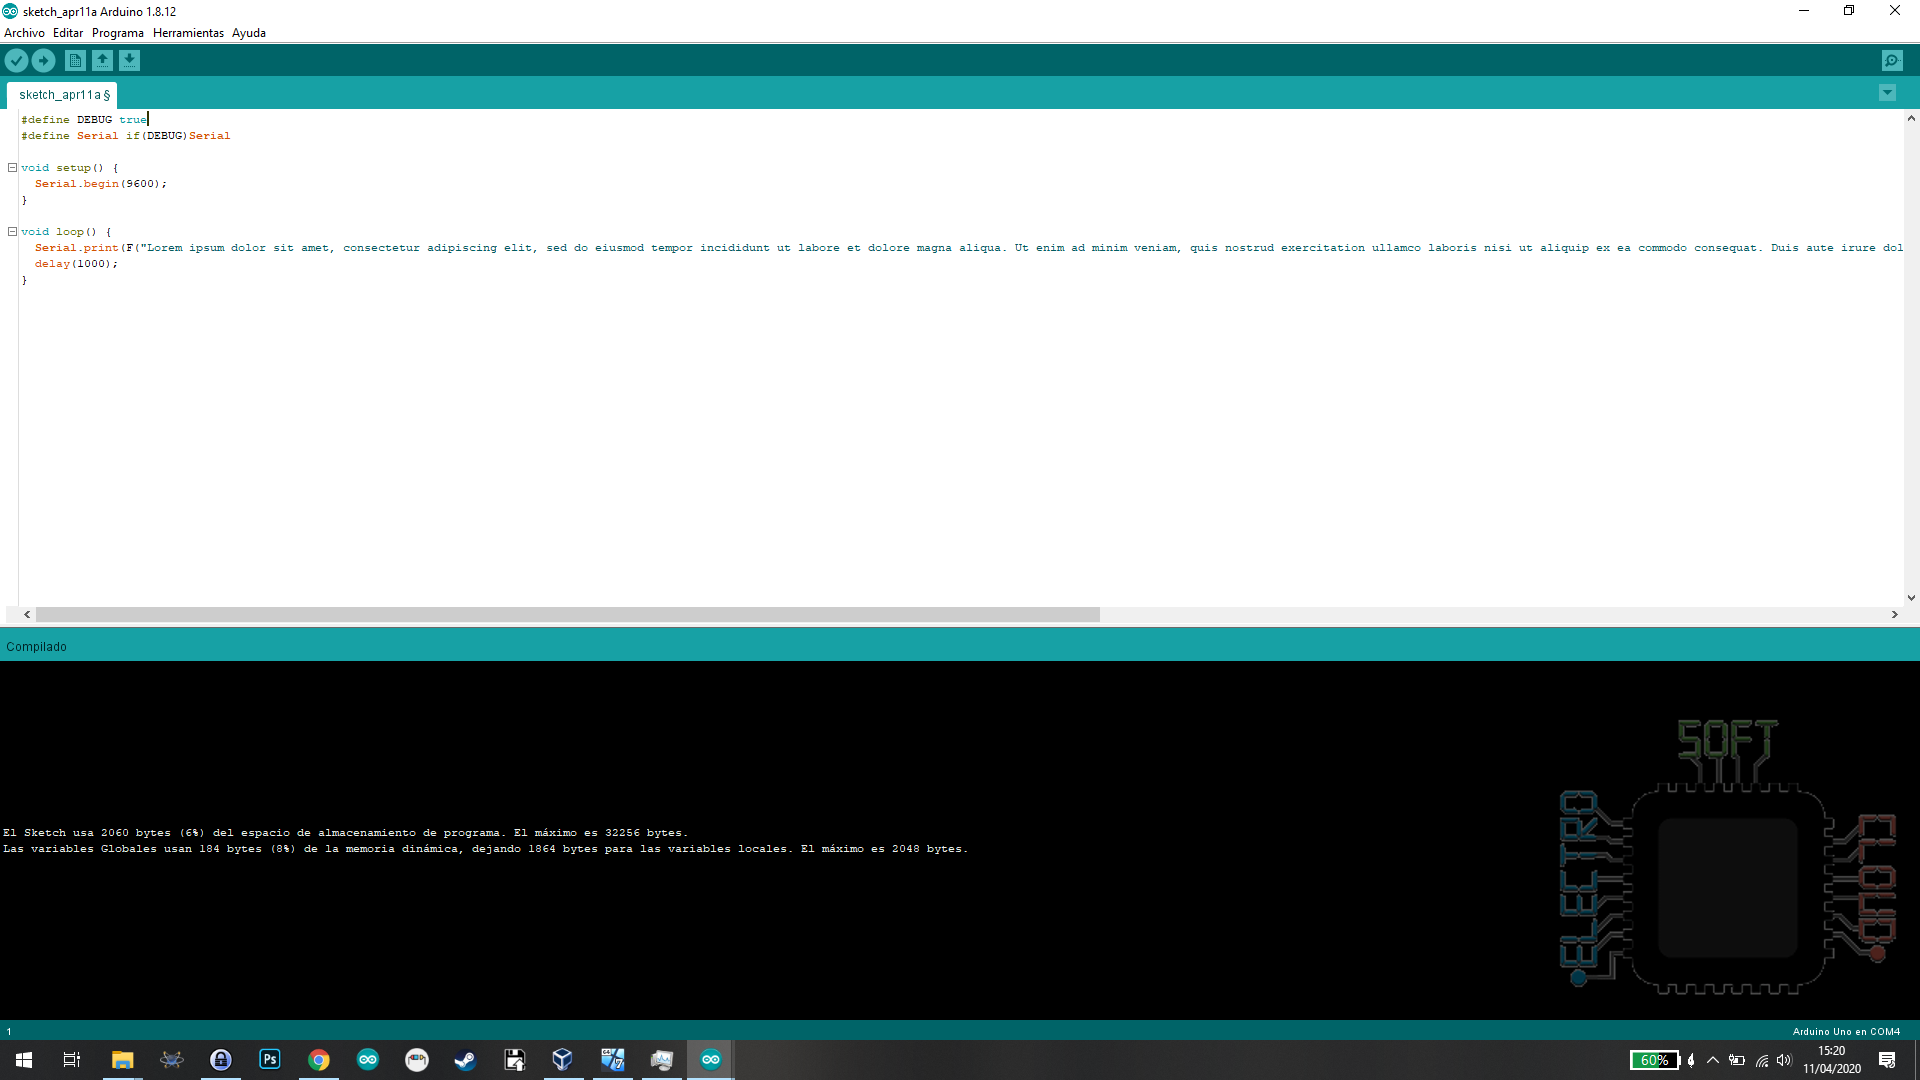
#define DEBUG true
#define Serial if(DEBUG)Serial
Changing DEBUG to false deactivates the Serial commands, thus saving memory and CPU, as can be seen in the following images:

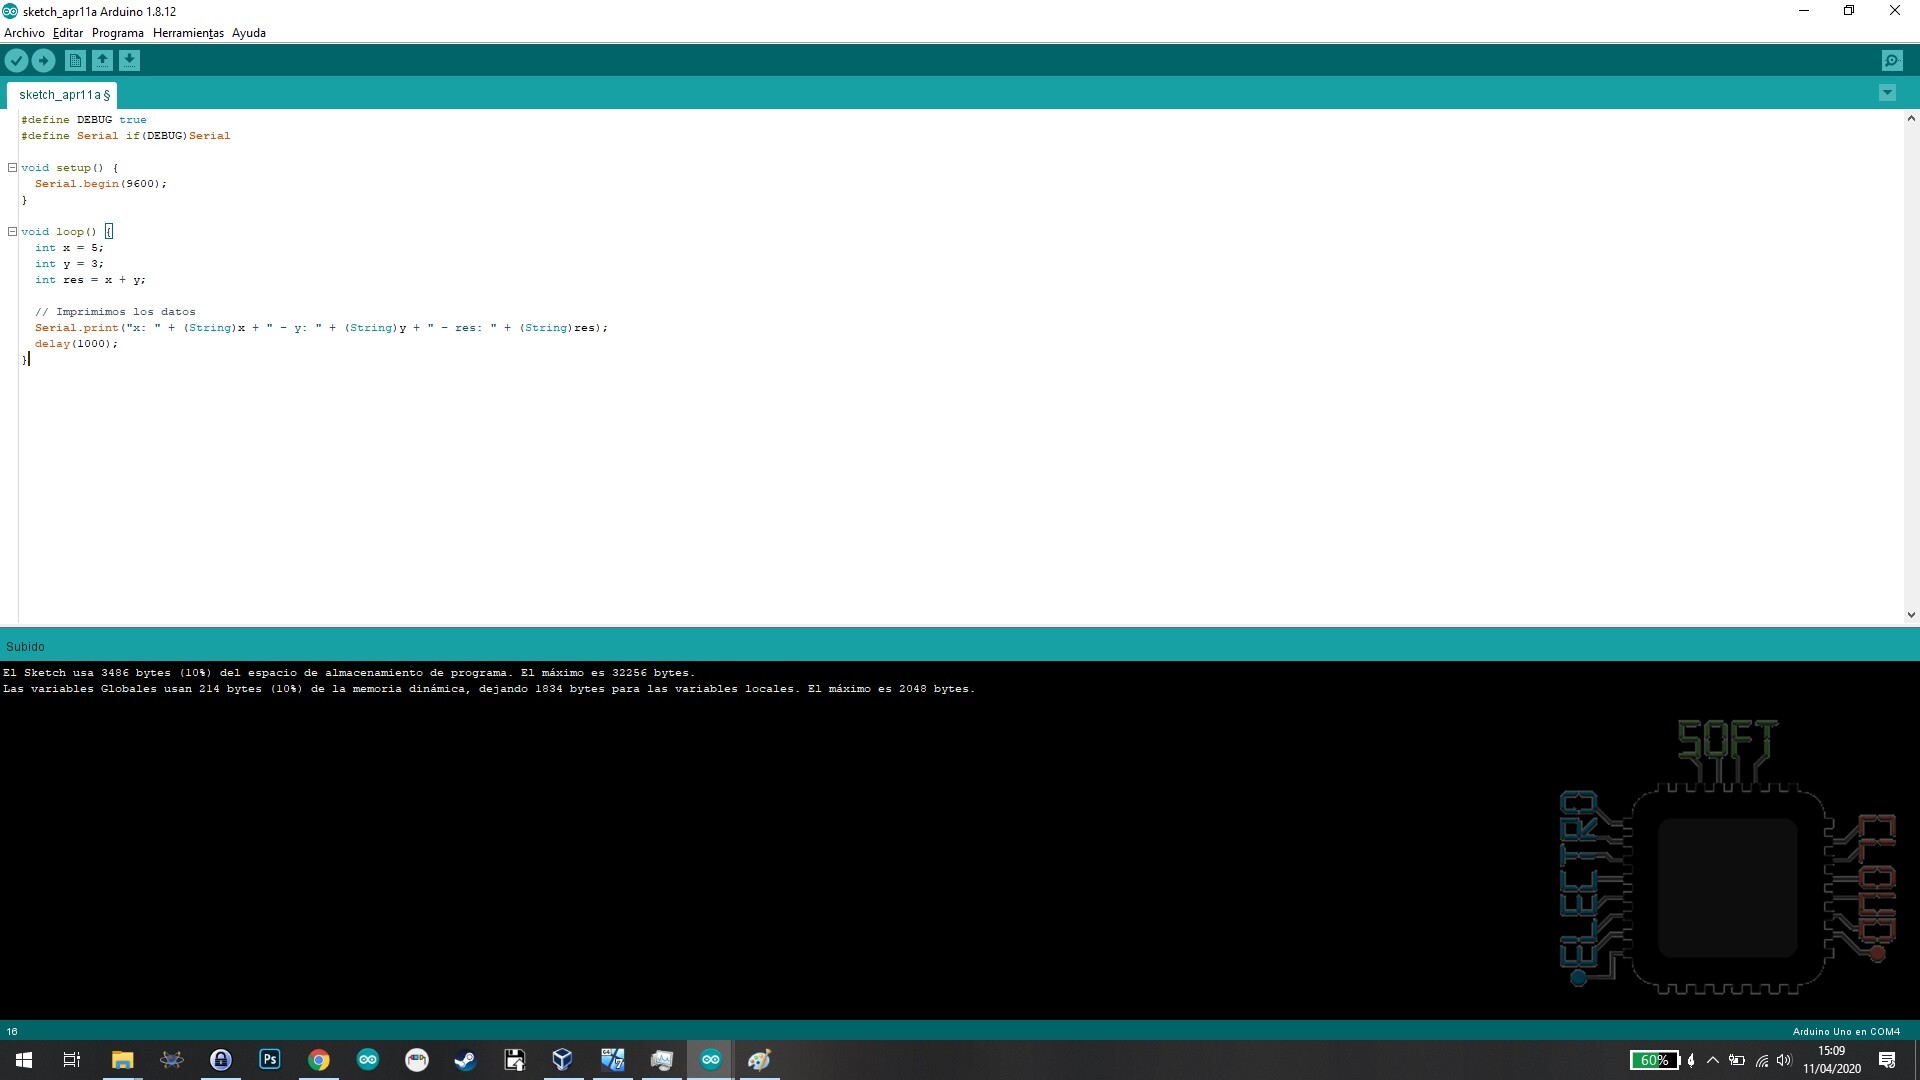
As you can see, with DEBUG active the consumption of SRAM and Program Memory is 10% in both cases. By simply changing the line to false, this consumption drops dramatically to 0% RAM, and 1% program memory.
Decimals in floats
If you’ve ever tried showing floats through Serial.print, you may have noticed that only up to two decimal places are sent. Do not worry, because this is the default operation of the library and Arduino is not cutting the decimals, so if you want to show more decimals, all you have to do is indicate it:
void setup()   {
  Serial.begin(9600);
  float number = 15.005;
  Serial.println(number);
  Serial.println(number, 3);
}

void loop() {
}

As you can see, the normal command only shows up to the first two decimal places, however, lock the three decimal places if we indicate it.
View the data in the IDE
So far I have taught you how to send the data to the PC using Serial.print and Serial.println, but I have not told you how to view it. To see them is as simple as opening the Tools menu and clicking on “Serial Monitor”. This will open a new window in which you can see the data as seen in previous images.

In addition, we can also open the window by pressing Ctrl+Shift+M.
RAM memory saving
If you use the Serial.print or Serial.println with texts, the increase in RAM consumption is likely to increase. To avoid this becoming a problem, the use of the F function is recommended, as I mentioned in my post Save SRAM memory.
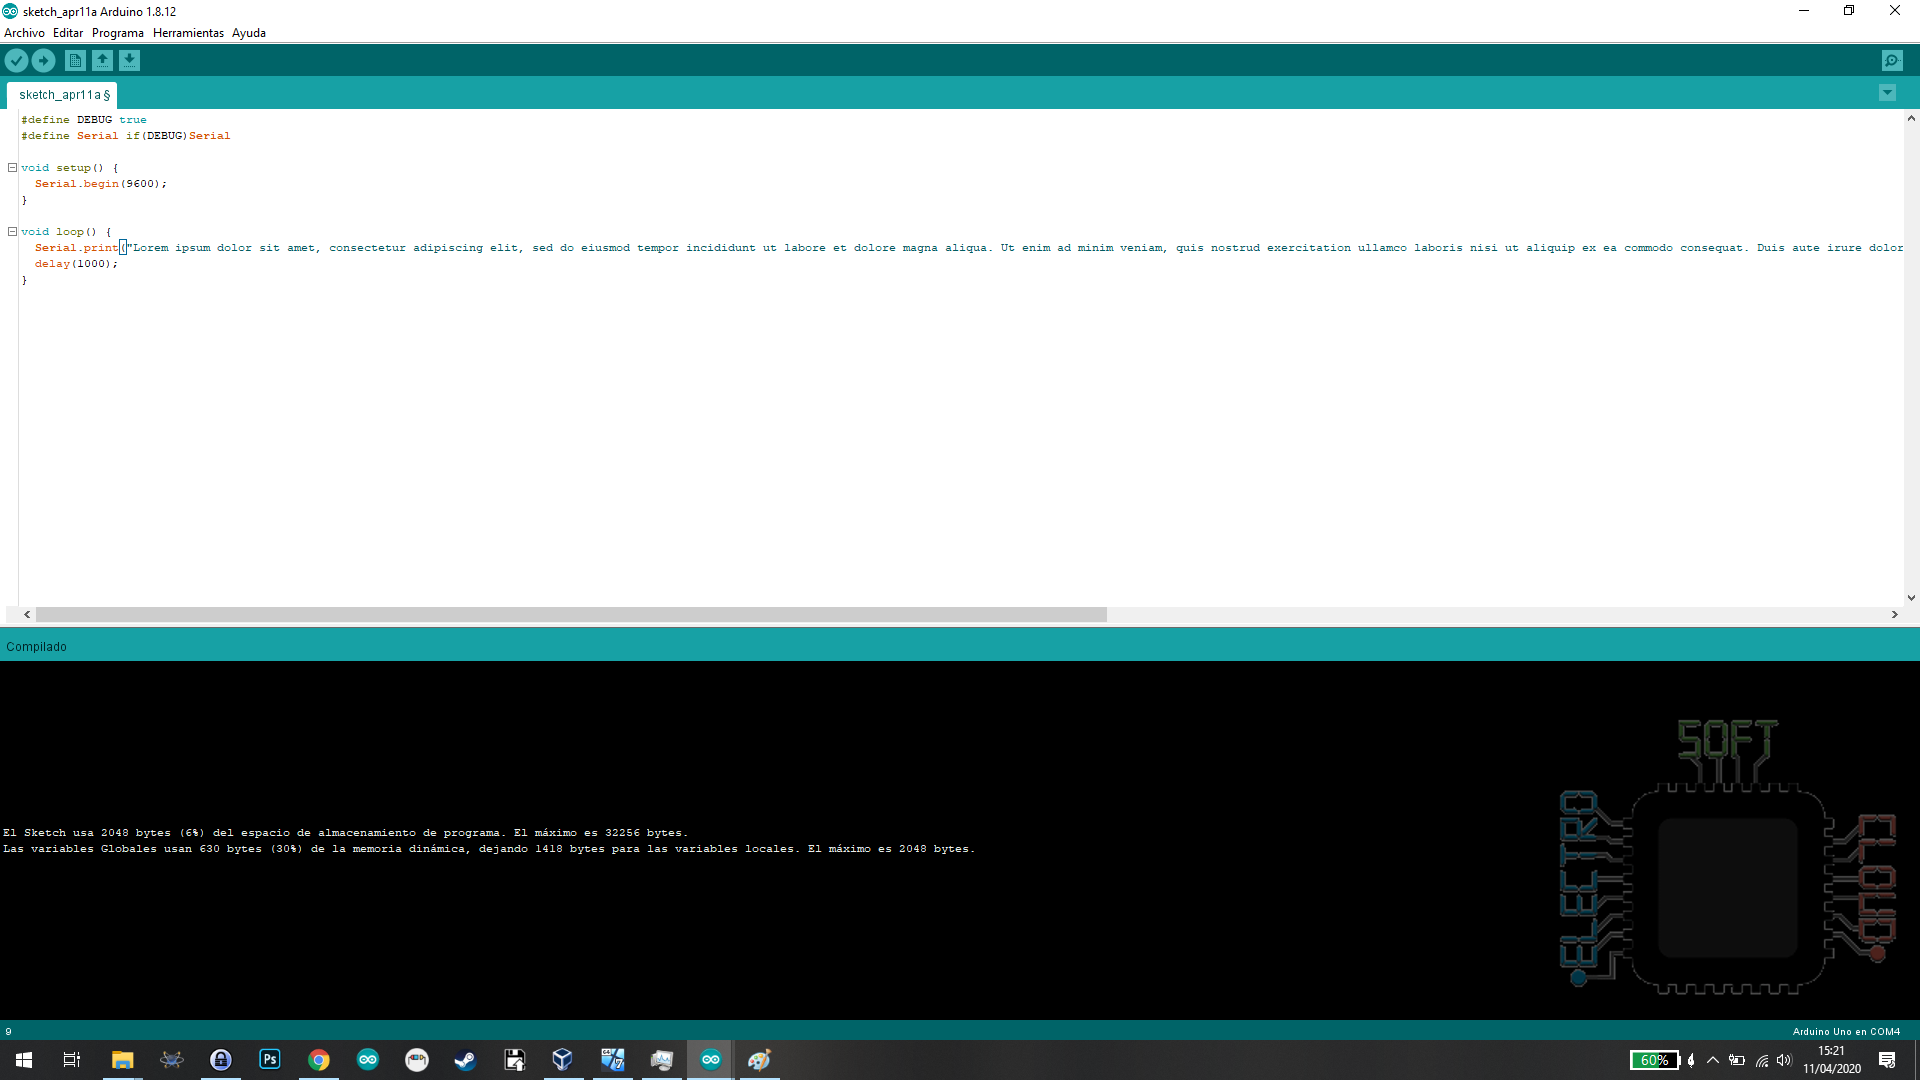
As you can see, the difference is more than remarkable. With this simple trick we save 446 bytes of our precious RAM, in exchange for only 12 bytes of program memory.
And here is my guide on how to debug your program with Serial.print. I hope it has served you.
Best Regards!